
Last Updated: October 25, 2026
Quick Summary
The best natural light photography tips for families start with reading the light before you pose anyone: shoot in the hour before sunset, use open shade or overcast skies, and expose for faces. Then keep shutter speed at 1/250 or faster and focus on the nearest eye.
- Golden hour, the hour before sunset, gives warm, low, soft light and mostly stops squinting.
- Overcast skies act like one giant softbox, smoothing skin and removing shadows.
- Start at f/2.8 to f/4 for one child and f/5.6 to f/8 for a group.
- For indoor window light, turn off every overhead light and place the family facing the window.
- The most relaxed photos often happen between about the 35 and 60 minute marks.
Table of Contents
- What Makes Natural Light Work for Family Portraits?
- The Best Time of Day for Family Photos
- Outdoor Family Photography Tips: Reading the Light Before You Pose Anyone
- Family Photography Camera Settings That Hold Up
- Indoor Window Light: The Setup Most Families Never Try
- What to Wear for Family Photos in Natural Light
- Keeping Kids and Teens Relaxed Without Stiff Posing
- When to Stop Adjusting and Just Book the Session
- Frequently Asked Questions
What Makes Natural Light Work for Family Portraits?
Natural light works for family portraits because it is soft, free, and forgiving. It wraps around faces instead of blasting them flat.
Most families think they need a studio. They don’t. They need a window, a shade tree, or the last hour before sunset.
The best natural light photography tips for families all start with the same habit: look at the light first, then place your people in it. That one shift changes everything.
Here’s what most guides get wrong. They hand you camera settings before teaching you to see. Settings matter, but light direction matters more.
The Best Time of Day for Family Photos
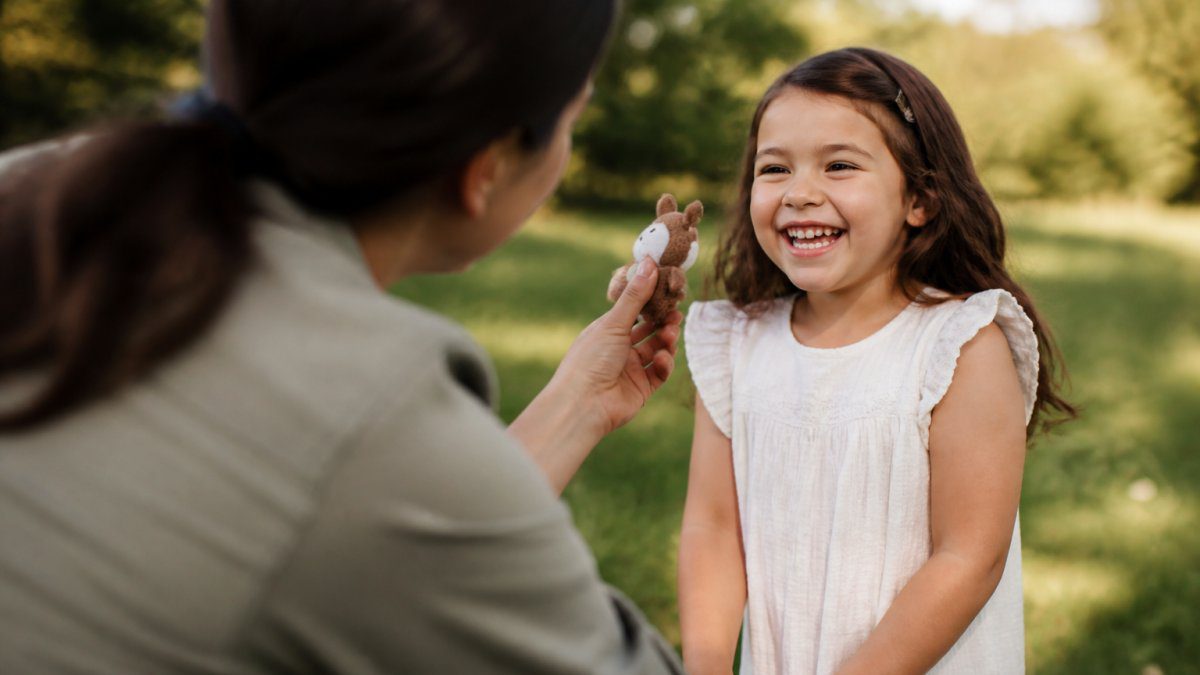
The best time of day for family photos is the hour before sunset, often called golden hour. The light turns warm, low, and soft. Kids look relaxed, and squinting mostly stops.
Morning works too. The first hour after sunrise gives you similar soft light with fewer crowds.
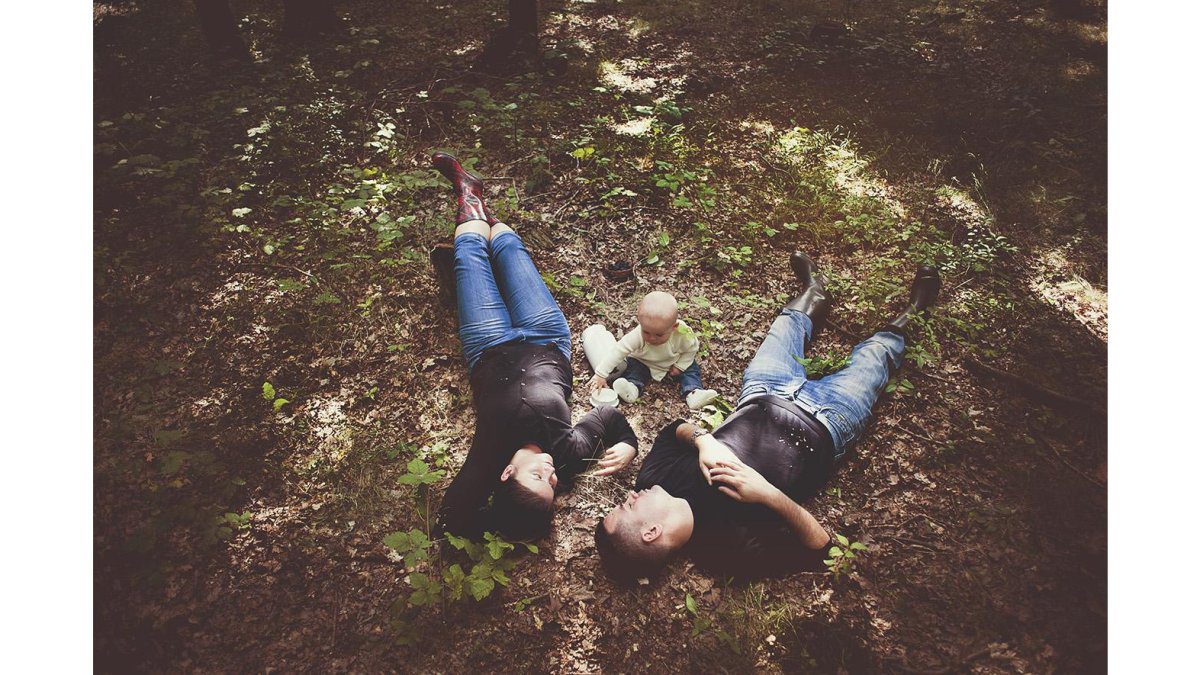
Midday is the hard part. The sun sits high and throws short, dark shadows under eyes and noses. If noon is your only option, find open shade and shoot there.
For a deeper look at timing, read our guide on the best time of day for outdoor family photos.
Golden Hour, Open Shade, and Overcast Light
Three kinds of light do most of the work in family portraits.
- Golden hour: Warm, low sun. Best for backlighting and glow. Shoot into the sun and expose for faces.
- Open shade: The even light under a tree, beside a building, or on a porch. Soft and safe. Great for group portraits.
- Overcast light: A gray sky acts like one giant softbox. Skin looks smooth and shadows disappear.
Overcast days get a bad rap. I love them. Nobody squints, and colors stay rich.
Outdoor Family Photo Tips: Read the Light First
Before you pose a single person, stop and look. Where is the sun? Where are the shadows? Which direction is the light coming from?
Turn your face the same way you’ll turn theirs. If the light feels harsh on your cheeks, it will feel harsh on theirs.
Look for light direction first. Side light adds shape. Backlighting creates glow. Front light is flat but safe.
Then check the background. A bright sky behind your family will pull the eye away from their faces. Move them so the background is darker than their skin.
What to Do When the Sun Is Harsh
Harsh sun is not a dealbreaker. It’s a puzzle.
- Move the family into open shade, then face them toward the open sky.
- Put the sun behind them for backlighting, and expose for their faces.
- Use a tree, a wall, or a building to block direct sunlight.
- Shoot later in the day when the sun drops lower.
Watch out: harsh light creates dark shadows under eyes and noses. If you can’t move, turn faces slightly toward the light and let the shadow fall behind them.
One more trick. Have a parent hold a kid up so their faces land in a patch of shade. Small bodies, small shade. It works.
Family Photography Camera Settings That Hold Up
Family photography camera settings come down to three numbers: aperture, shutter speed, and ISO. Get those right and the rest is easy. But the numbers only work if you know what to trade when something goes wrong. Here’s the setup and the fixes.
Starting Camera Settings for Natural Light
- Aperture: Start around f/2.8 to f/4 for one child. Close to f/5.6 or f/8 for a group so everyone stays sharp.
- Shutter speed: Keep it at 1/250 or faster. Kids move. Freeze them.
- ISO: Raise it as needed. A little grain beats a blurry face.
- White balance: Set it to daylight or auto. Adjust later if skin looks too blue or too orange.
- Focus: Use single-point autofocus and put the point on the nearest eye.
A prime lens around 50mm or 85mm gives you soft backgrounds and sharp faces. A zoom lens is more flexible for group portraits and wide shots.
The trade-off nobody explains
Every setting fights the others. Open the aperture for a soft background and your depth of field shrinks, now the back row of a group is soft. Stop down to f/8 for the group and you lose light, so shutter speed or ISO has to give. My rule: protect the faces first. If the choice is between a little grain and a soft face, take the grain.
Keeping a whole group sharp
A group is a depth-of-field problem, not a focus problem. Line the family up on a gentle diagonal rather than a flat wall, and focus on the person closest to the middle of the group. At f/5.6 to f/8 with a normal lens, that usually keeps everyone from the front row to the back row acceptably sharp. For a big extended family, stop down to f/8 and raise ISO to hold your shutter speed.
Troubleshooting exposure and focus
- Blown highlights: Lower exposure a third of a stop at a time and check the histogram. If the right edge is jammed against the wall, you’re clipping.
- Dark faces: Expose for the skin, not the background. A bright sky behind the family will fool the meter every time.
- Motion blur: Raise shutter speed to 1/500 for running kids. Accept a higher ISO.
- Missed focus: Single-point autofocus on the nearest eye, and take several frames of the same moment. Ten frames gives you a real chance at one where everyone’s eyes are open.
- Uneven exposure across a group: Move the group so no one sits on a light boundary. Then expose for the brightest face and let the darker side fall where it falls.
The settings are the easy part. The habit that matters is checking the back of your camera after the first ten frames, histogram, focus, and every face, before you keep shooting. Fix it once and the rest of the session runs clean.
Here are the starting settings I use, plus what each one protects when things go sideways.
| Setting | Start at | Note |
|---|---|---|
| Aperture | f/2.8 to f/4 for one child | Close to f/5.6 or f/8 for a group |
| Shutter speed | 1/250 or faster | Raise to 1/500 for running kids |
| ISO | Raise as needed | A little grain beats a blurry face |
| White balance | Daylight or auto | Adjust later if skin looks too blue or orange |
| Focus | Single-point autofocus | Put the point on the nearest eye |
| Lens | Prime around 50mm or 85mm | Zoom is more flexible for groups and wide shots |
Indoor Window Light: The Setup Most Families Never Try
Indoor window light is the most underused setup in family photography. One big window, no flash, and a plain wall behind you can produce portraits that look like a studio shot.
Here’s the setup:
- Pick a window that gets soft, indirect light, not direct sun.
- Turn off every overhead light in the room.
- Place the family a few feet back from the window, facing it.
- Stand between them and the window, or beside it, and shoot toward their faces.
- Put something dark behind you so their faces stay bright.
This works on rainy days, in small apartments, and with families who don’t want to drive anywhere. It’s also a good backup plan when the weather turns.
If you’re weighing an at-home session against an outdoor one, our post on outdoor vs. in-home fall sessions breaks down which fits which family.
What to Wear for Family Photos in Natural Light
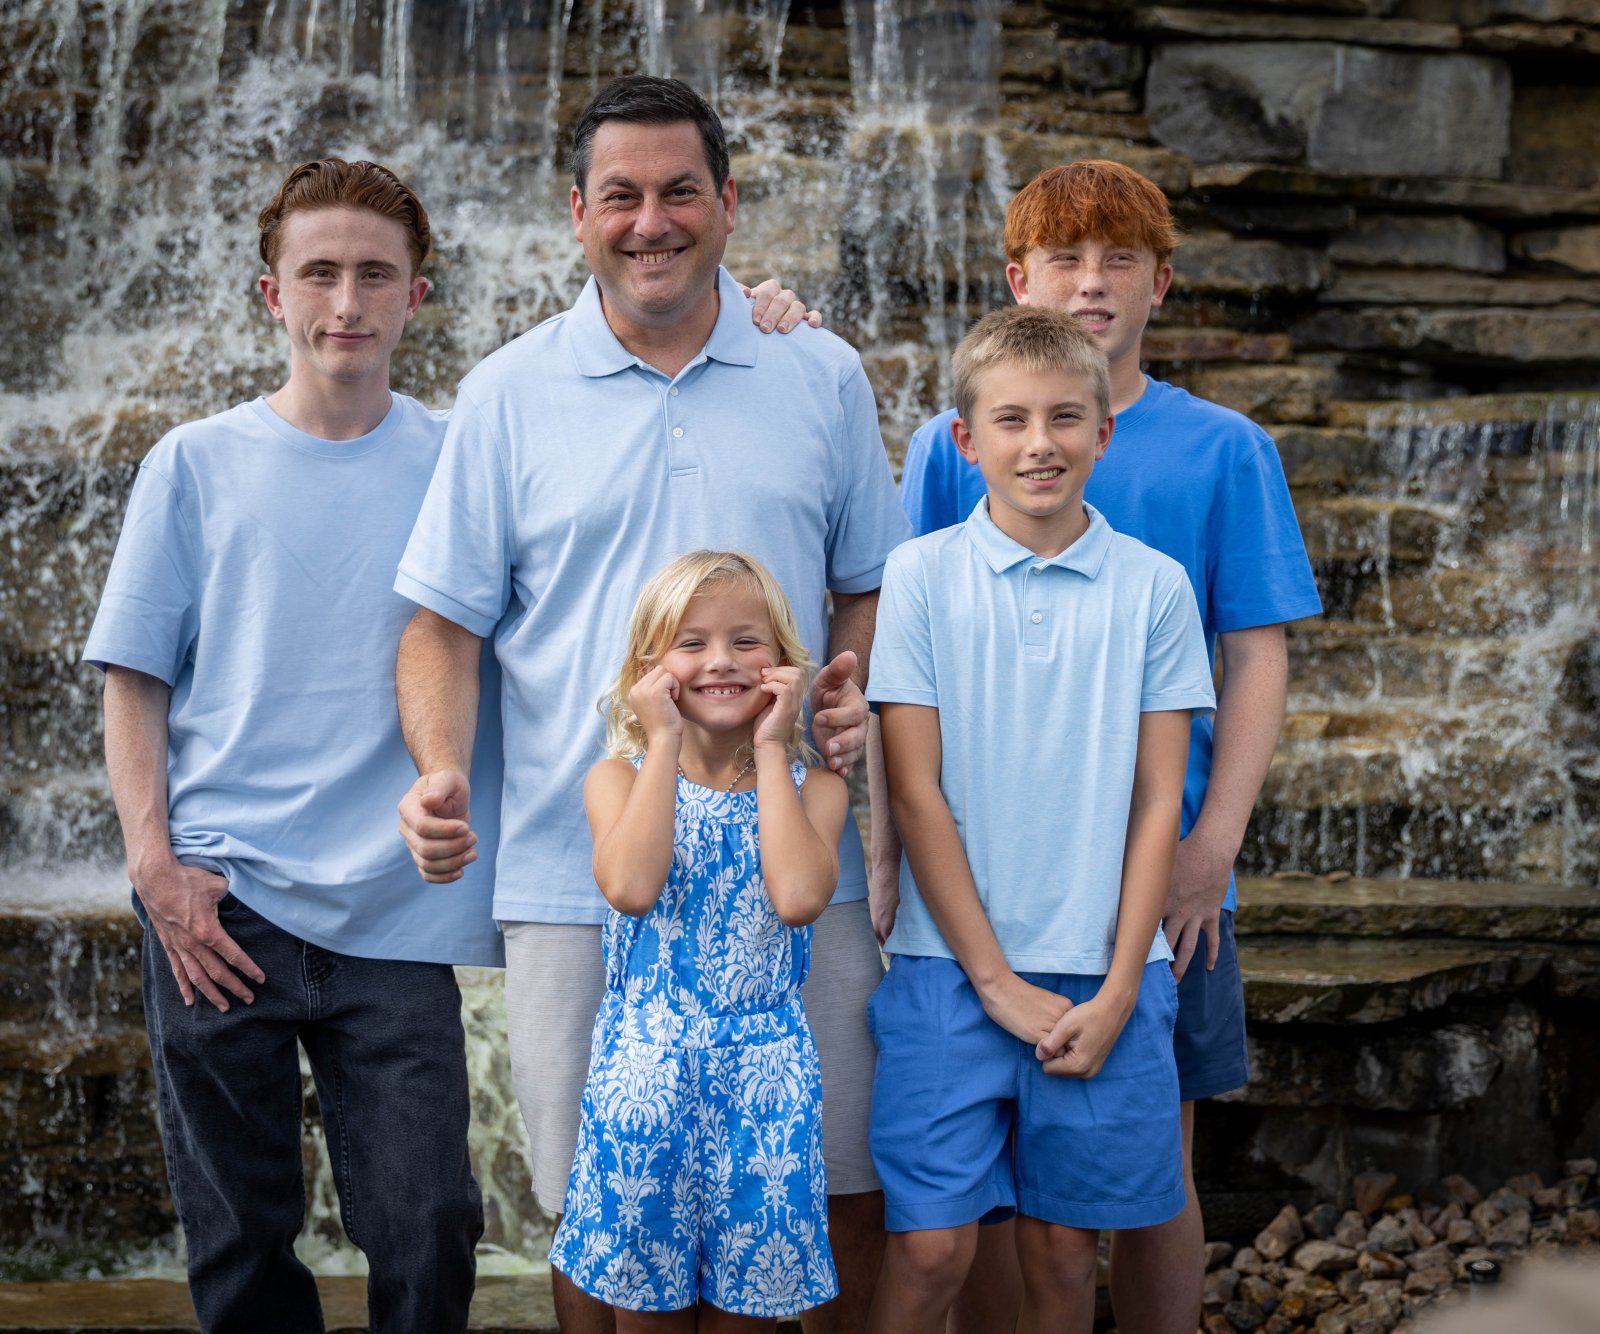
What to wear for family photos in natural light comes down to soft colors, simple layers, and no loud logos. Light and neutral tones bounce light onto faces. Busy patterns pull the eye away.
- Pick light colors: cream, tan, soft blue, sage, blush.
- Add layers and textures: a cardigan, a denim jacket, a linen shirt.
- Skip neon, big logos, and tiny stripes that shimmer on camera.
- Coordinate colors across the family instead of matching outfits exactly.
For the full breakdown, read matching vs. coordinating outfits for family photos.
Keeping Kids and Teens Relaxed Without Stiff Posing
Stiff posing shows on camera. Kids especially. The fix is less direction, not more.
I give families one small piece of direction and let them make it their own. There are no bad poses.
Before the session, every family fills out a short questionnaire: favorite snacks, favorite shows, games the kids love. I use those answers as prompts. It breaks the ice with teenagers better than anything else I’ve tried.
A few things that help:
- Make sure younger kids are well rested and have something in their stomach.
- Bring snacks. Hungry kids don’t smile.
- Let kids move. Candid moments beat stiff smiles.
- For teens, ask about their music or their shows. Then listen.
For more on this, see our post on natural posing tips for families who hate being photographed.
One insider note. I often recommend the hour-long session over the 30-minute option.
When to Stop Adjusting and Just Book the Session
You can read every natural light photography tip on the internet and still freeze when it’s time to book. At some point, the planning has to end.
Here’s the honest truth. The best light in the world can’t fix a family that never gets in front of the camera. Kids grow. Grandparents age.
At Vickshots, I keep sessions relaxed and focused, usually 30 minutes to an hour, not a full day.
When you’re ready to stop adjusting and start planning, book a photo session in Kansas City.
Natural Light Family Photography FAQs
What is the 20-60-20 rule in photography?
It’s a rough guide for balancing a frame: about 20 percent of the image carries the subject, 60 percent is supporting context like background and setting, and the last 20 percent is breathing room. For family portraits it keeps you from filling every inch with faces. Step back, let the location show, and leave some open space around the group. It works in natural light photography because the background is often the reason you chose that spot in the first place.
What f-stop works best for family photos?
Somewhere between f/2.8 and f/5.6 covers most family sessions. Wider apertures like f/2.8 give you that soft background, but with two or more people you risk one face going soft while another is sharp. If everyone is on roughly the same plane, f/4 to f/5.6 keeps the whole group crisp and still separates them from the background. Larger families spread across more depth need the smaller end of that range.
How do you keep kids relaxed during a family photo session?
Feed them first and make sure they’re rested. Then give them something to do besides smile at a lens. I ask families to fill out a short questionnaire before the session about favorite snacks, shows, and games, and I use those answers as prompts during the shoot. A kid who is telling you about their favorite cartoon forgets the camera is there. Younger kids are usually easier than teenagers; the questionnaire does most of the work with reluctant teens.
What should a family wear for an outdoor photo shoot?
Neutral and light colors photograph best in natural light: creams, tans, soft blues, muted greens. Skip loud logos and everyone in matching white. Layers and textures, like a cardigan over a tee or a chambray shirt, add depth without shouting. Coordinate rather than match, and let one or two people carry a slightly bolder color if you want the group to pop against greenery.
Here’s the challenge: the light is already out there, and your family is already growing. You just need someone to put the two together. Vickshots offers relaxed, natural-light family sessions with a guided but easygoing approach, a pre-session questionnaire that helps kids and teens loosen up, and your pick of locations across the metro. Get started with Vickshots and get portraits that feel like your family, not a pose.